
Easee EV Charger: Complete Guide for UK Homeowners
The Easee One is one of the most popular home EV chargers in Europe — and for good reason. Its slim, minimalist design, robust smart features, and excellent load balancing capabilities have made it a firm favourite with UK homeowners. But is it the right charger for you? As NAPIT-registered EV charger installers serving Watford
Read More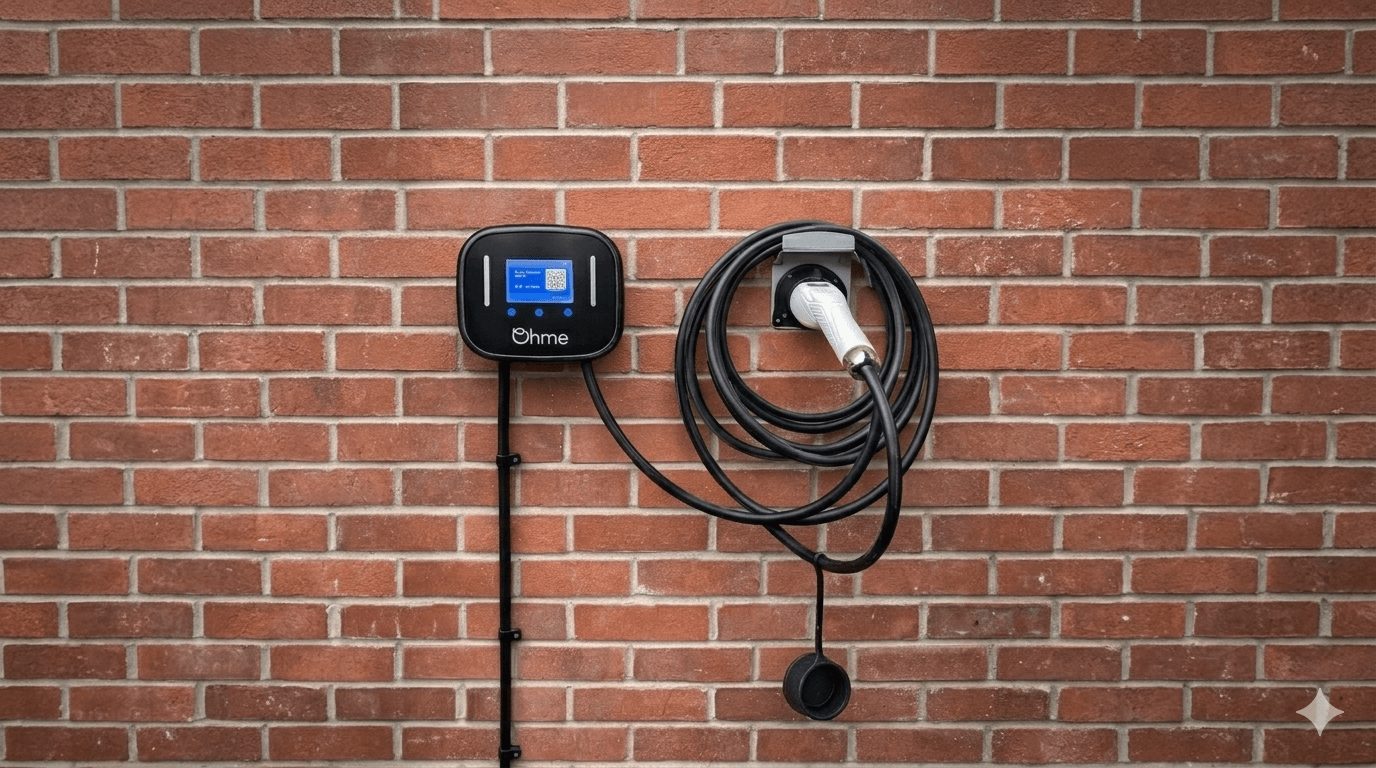
Ohme EV Charger: Complete Guide for UK Homeowners
If you’re on a smart energy tariff — particularly Intelligent Octopus — the Ohme Home Pro might be the most cost-effective home EV charger available in the UK right now. Its ability to communicate directly with your energy tariff and automatically charge when electricity is cheapest (sometimes under 7p per kWh) has made it a
Read More
Hypervolt EV Charger: Complete Guide for UK Homeowners
The Hypervolt Home 3.0 is one of the UK’s best-kept secrets in the home EV charging market. British-designed and manufactured, it offers a strong combination of smart features, solar compatibility, and dynamic load balancing that rivals the more widely advertised Zappi and Easee. If you’re researching home EV chargers and want a genuinely capable, home-grown
Read More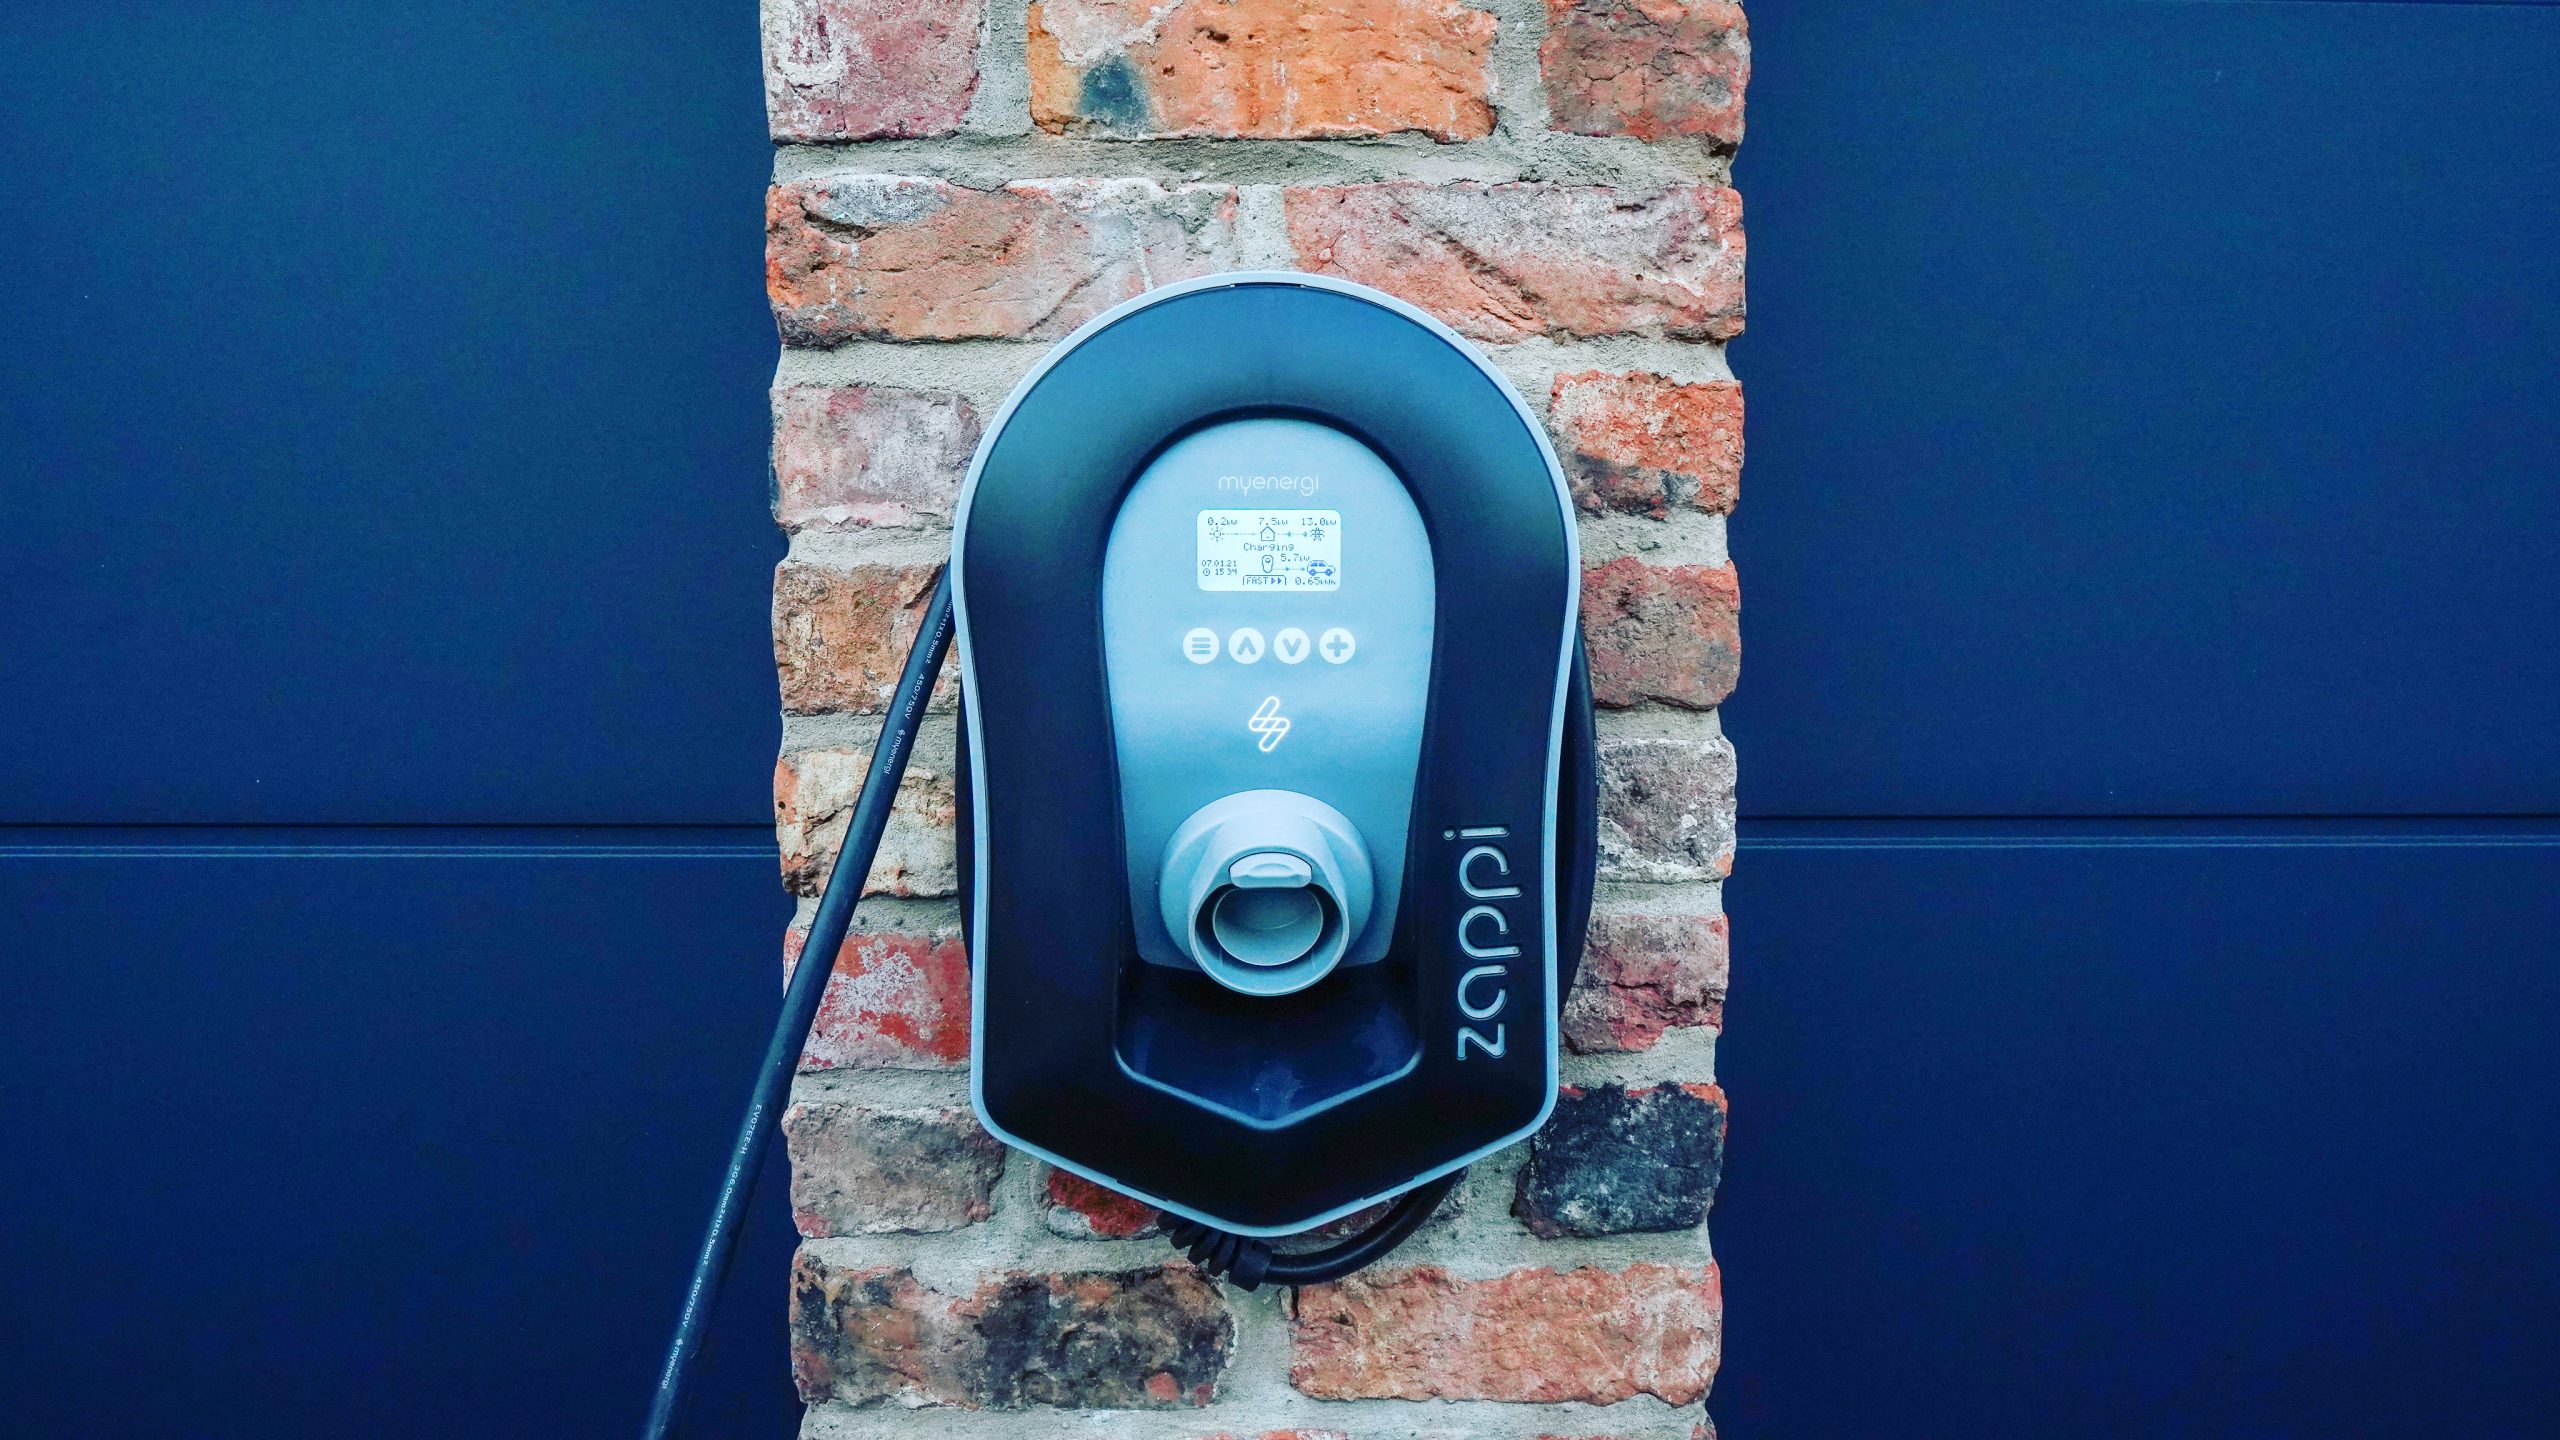
Zappi EV Charger: Complete Guide for UK Homeowners
If you own or are planning to buy an electric car, the Zappi by myenergi is one of the most talked-about home chargers on the market — and for good reason. It’s the go-to choice for homeowners with solar panels, and its smart eco-charging features set it apart from most competitors. In this guide, we’ll
Read More
What and where to look for when taking photographs of your electrical components.
Main Cut-Out Fuse The main cut-out fuse is your property’s primary safety device, protecting your home from electrical overloads. It’s located where the electricity supply first enters your property, typically near your electric meter. The cut-out contains a fuse with a specific amperage rating (commonly 60A, 80A, or 100A in UK homes) which determines the
Read More